http://projectsbyjess.blogspot.com/2010/02/summer-onesie-tutorial.html
Easy sewing project to embellish a plain generic onesie into a cute, coordinated, convenient outfit.
Details on project and more photos of finished dress on actual baby
HERE.I hope this tutorial is straight forward and seems manageable. Even if you are new to sewing, you can do it! You could always leave off the arm cuffs to make it a little easier too.
Also, this tutorial is for personal use only. I ask that you respect my design and the time to put this tutorial together and only use the dresses you will make for yourself, family and friends, not for commercial use/ profit. Thanks!
SUPPLIES:
**just a reminder to prewash all your fabric and onesie before you start
-white, short-sleeved onesie
this tutorial measurements are for Gerber 6-9 mo onesies,
see end of tutorial for tips on adjusting for larger sizes, different brands may fit differently also
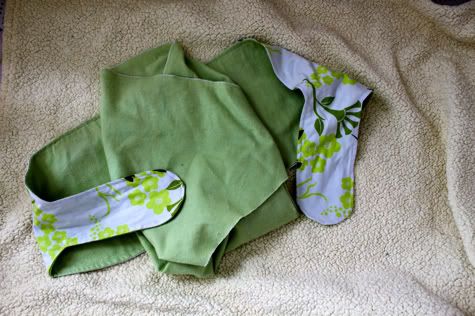
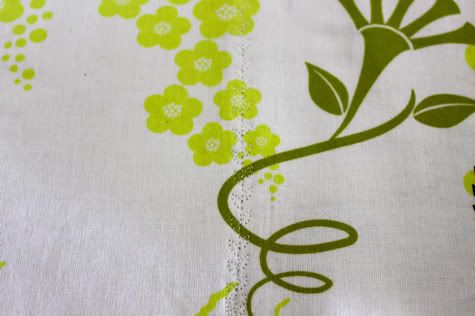
-1/4 yard skirt print (paisley)
cut into skirt piece 6" x 28"
arm cuffs: 2 pieces 1.5" x 8" each
paisley scrap for bird wing
- contrasting red stripe
(great way to use scraps, or buy 1/8 yard or even less)
cut into strip 2" x 28"
freezer paper, fabric paint
-white knee-high nylon
-scrap of red knit/ felt/ or fleece
any fabric that won't fray, I used a scrap of an upcycled red t-shirt
-button
-grosgrain ribbon
2-3" or so
-scrap of fusible interfacing
-embroidery thread
for bird legs and sewing wing on
So let's get started!
HEADBAND
I thought it would be good to start out with the headband. It is quick and easy.
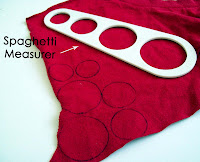
1. trace three circles on your red
non-fray fabric.
You could use fleece, felt, or I used stretch knit--a scrap from a red t-shirt I've been upcyclng.
I use a plastic spaghetti measurer to have 3 circles of descending sizes right there.
2. Cut out the circles
3. Stack circles and sew button on top.
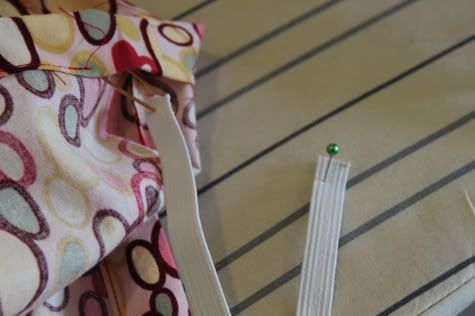
Next to make the stretchy nylon headband:
First, cut off the top cuff of the nylon.
At this point you can sew over the scrunch, but I just tie the long threads together in a knot and snip the ends to keep the nylon scrunched.
SEW RIBBON AROUND SEAM
At this point, you just need to sew the button flower onto the red ribbon patch. I hand sew down through the button holes and back up to attach the flower.
Headband is finished!
BIRD
To make the bird, there is a combination of the freezer paint and applique.
First, we'll paint the bird ton the center front of the onesie.
For the shape of the bird body, I drew a pear shape about 2" tall and 1.5" wide, with a triangle for a beak.
Cut out the bird body, and iron on the onesie.
**Make sure you put cardboard or something between the layers of the onesie, so paint doesn't soak through on the back!
Paint the body, mine took 2 coats.
When paint is dry, seal paint with ironing on the back with dry, high temperature heat.
Next we'll make the wing.
Iron on your paisley to the scrap of fusible interfacing.
Cut out wing.
Using contrasting (turquoise) embroidery floss or regular thread, hand sew on wing on top of painted bird, and sew the legs on.
I just go along with the thread to make legs, I should trace them on first, but I just embroider them on.
I liked the simplicity of no eye on the bird. For me I thought the detail on the paisley wing was the focus, and the body was more of a sillouette. But you could always sew on a little button, or knot the turquoise thread for an eye.
DRESS
Now we just need to make the skirt and cuffs for this dress!
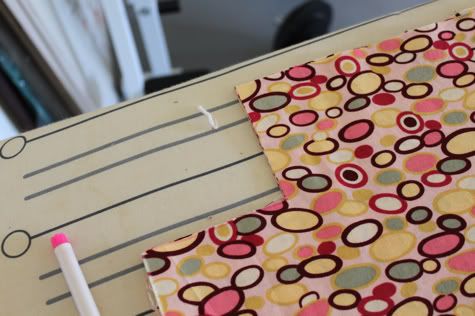
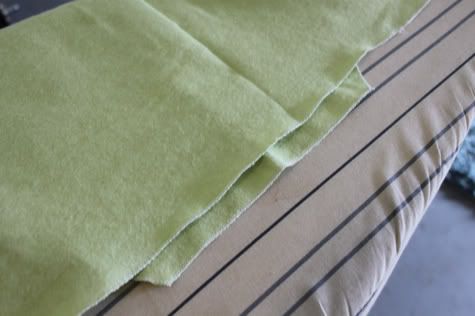
Start by hemming the red strip. I serged one of the long edges, but you could zig-zag it instead, or just skip it if your fabric doesn't fray.
Fold edge under a little more than 1/4".
Top stitch hem with 1/4" seam allowance.
If you want, a double needle or two rows of top-stitching look more manufactured, but I just went with one being that it is so narrow.
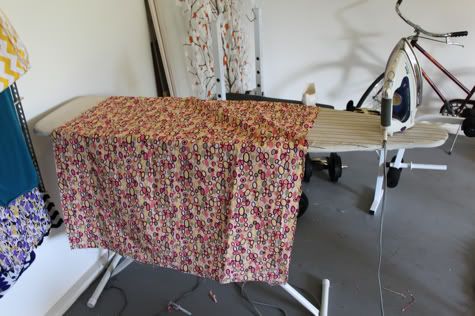
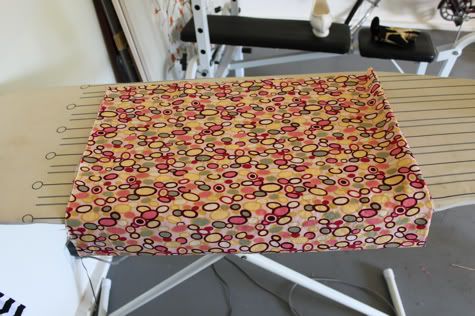
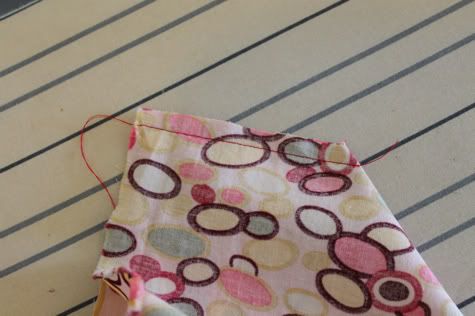
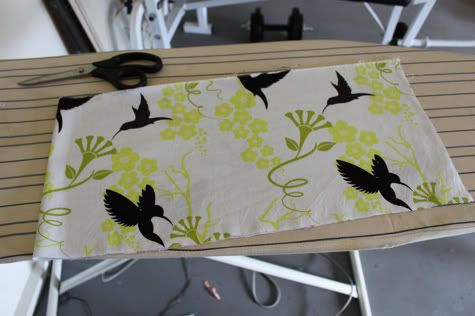
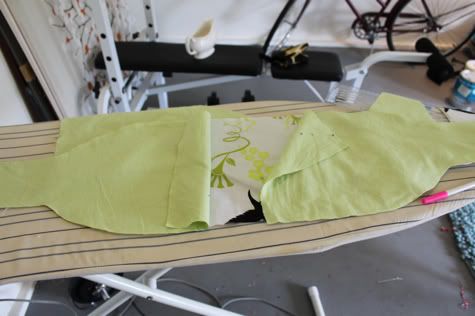
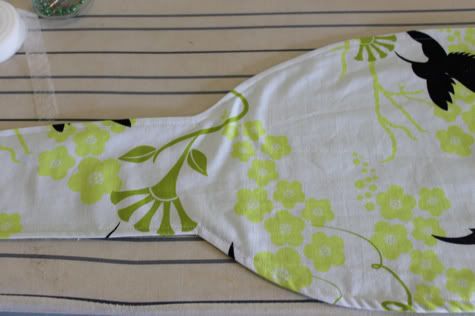
Next, we'll construct the skirt.
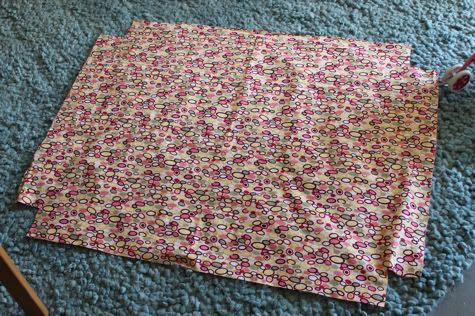
Now you have a 28" wide rectangle with a red stripe on the bottom. To make it a skirt, we'll next sew the back seam.
At this point I serged the seam allowance, and along the raw top edge of the skirt.
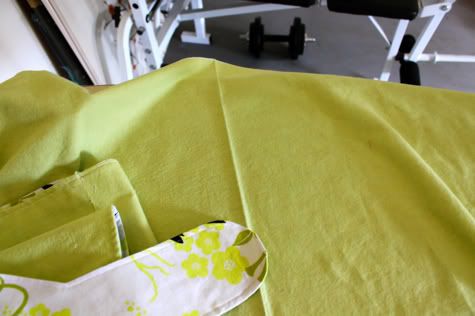
Now to attach the skirt to the onesie!
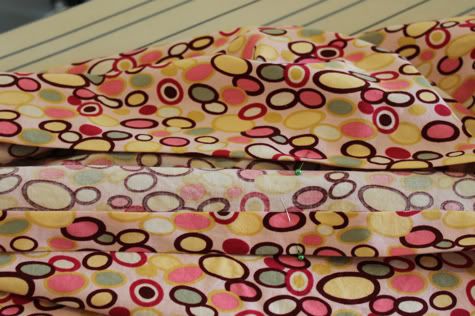
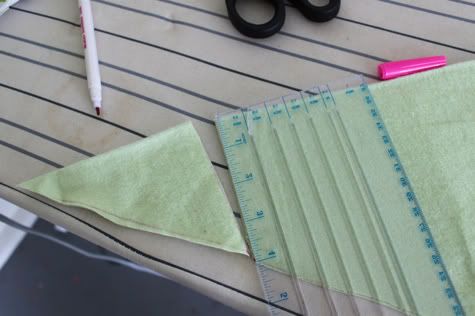
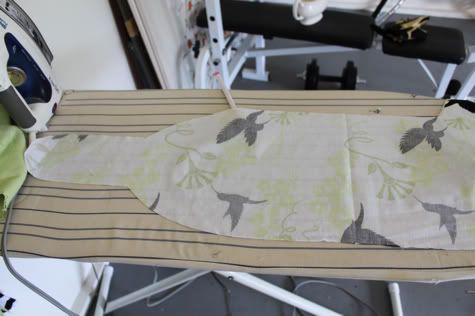
To do this quick and without a ruler/ measuring tape, I fold rectangle in half with the seam being one side and pin the opposite. So I have 2 pins, in the halfs, which will end up being front and back.
Put those 2 pins together, and the folded edges the other direction become the other quarters, which will end up being the sides of the skirt.
Measure onesie line to attach skirt.
1. Lay onesie totally flat. On each side seam, measure up 2" from bottom. Mark on both sides.
2. Draw a line between 2 points on side seams with pencil, tailor chalk, or disappearing pen.
3. Mark (I used pins) the center on the front & back of the onesie.
You're basically marking the onesie into quarters too (like the skirt) using the side seams as your other quarter markers.
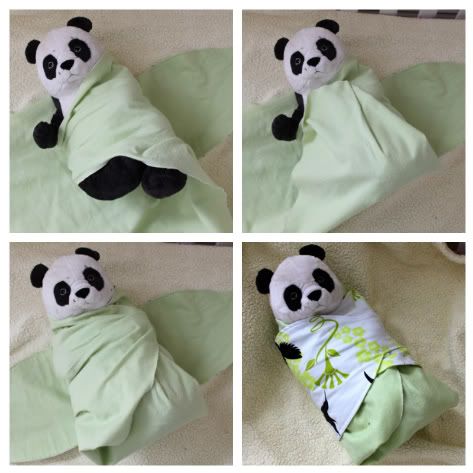
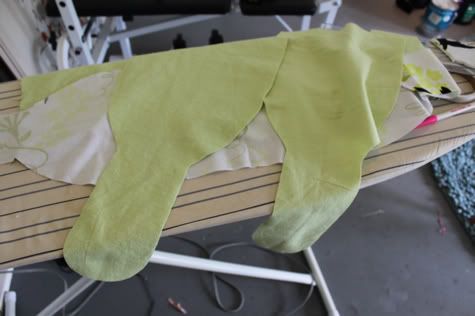
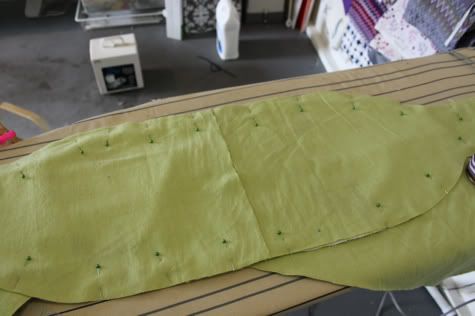
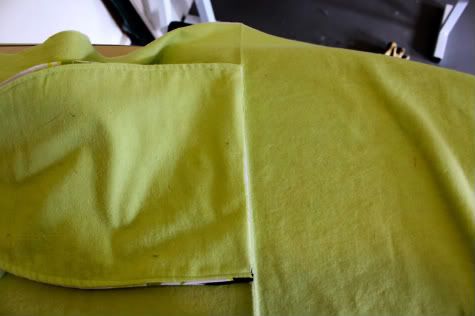
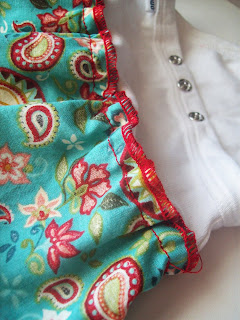
Now to pin the skirt on the onesie, you'll flip the skirt inside-out, and upside down. This way, right sides are touching, and the seam allowance will be hidden underneath the skirt.
The skirt is a lot larger than the onesie, so it will scrunch/ gather when we sew it on. This is why it's important to measure quarters of the skirt to make sure scrunch is even all the way around.
1. Pin the skirt to the onesie
First with the back seam of the skirt on the back center of the onesie.
Next take the quarter portion of the skirt and pin it to the side seam of the onesie, along the line on both sides.
Lastly, pin the final skirt pin on the front of the onesie in the center.
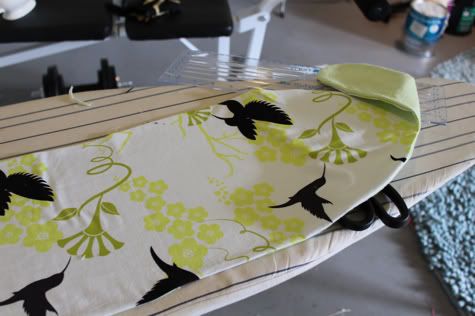
2. Sew skirt to onesie.
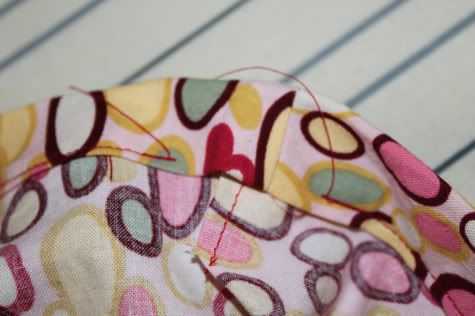
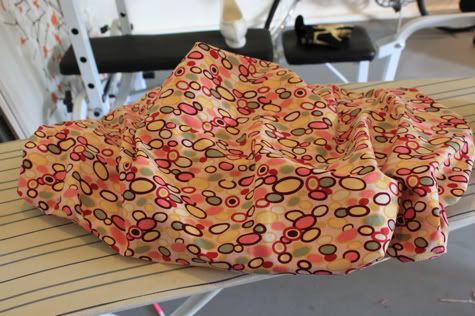
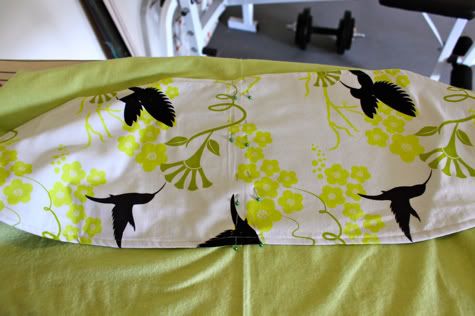
Place the open bottom of the onesie to your right to sew the skirt on. I start at a side seam. You'll notice you have a lot of skirt, and not much onesie to sew to the next pin, as you can see with the skirt bulging up in this photo.

The idea is that as you sew, you need to stretch the onesie to match the skirt. This is why we pinned the onesie quarters to the skirt quarters. So grab the next pin, and stretch the onesie, and sew along with 3/8" or 1/2" seam allowance.
You do need 2 hands to sew as you stretch, keep your left hand on the back of the fabric, and you right hand on the front, to hold the onesie stretched as the machine moves it along.
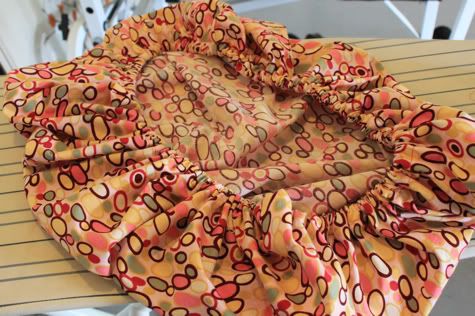
Sew to the next pin, take it out, and stretch the onesie to the next pin. Pretty soon you've made it all around the onesie. Once you've sewn the skirt on, the onesie naturally scrunches it up or gathers it.
Hanging, it may seem like the skirt is stretching out the waist of the onesie, but you need it to be able to stretch to get it on and off, and once the baby is wearing it, their belly fills it out and it looks just fine!
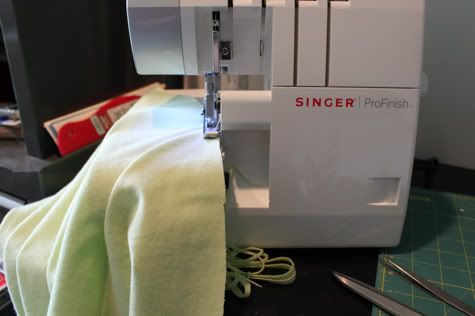
I like to secure the 1/2" or so of seam allowance down to the onesie. So I just zig-zag along again.
REMEMBER!
Even though it's a lot easier to just zig-zag along now the skirt is attached, you still need to stretch the onesie again as you sew.
If you don't stretch the onesie when you zig-zag, the stitching will probably bust out when the mom stretches it over the baby's head.
Almost done!
ARM CUFFS
These cute little trims on the sleeves add a lot to complete the "outfit" I think. You could also use your contrasting red rather than the turquoise paisley.
MAKE THE CUFFS WITH YOUR 2: 1.5" X 8" pieces
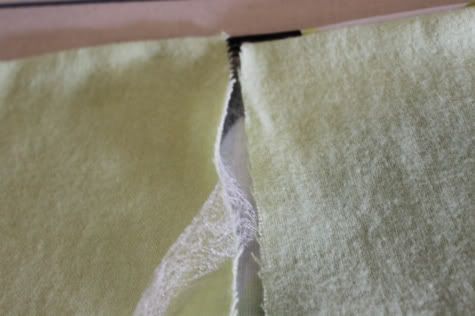
1. Fold right sides together, and sew 1/4" seam allowance up short sides.
2. Press open the seam.
3. Fold the open seam on itself, so the 1.5" wide circle gets folded over into a 3/4" wide circle, with the short seam allowance hidden inside
4. Serge/ zig-zag along the edges, sewing the two layers together.
5. Pin each cuff on the edge of the onesie sleeve, serged edge at the edge of the sleeve.
Line up the seam of your cuff with the seam of the onesie armpit.
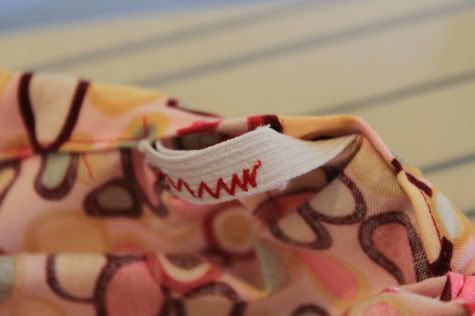
SEW ON CUFFS
It can be hard to handle the seam being such a small circle, this is how I arrange it in my machine, sewing on the inside of the sleeve.
**Remember you will have to stretch the onesie sleeve a little bit like the skirt.
Next we'll topstitch the sleeve edge to flatten the seam.
1. Flip the cuff down, and pull the onesie away from the cuff so it's a flat and smooth seam.
2. Sew 1/8" away from your last seam, to sew the folded seam allowance flat, otherwise, it will want to fold back up.
The thread you use on this last seam around the cuff, will show on the outside. I used red so it would contrast the white onesie. But you could switch to white thread to match, or if you're nervous about sewing a seam that will be seen.
Sew on the other cuff, and you're finished!
TIPS TO ADJUST FOR LARGER ONESIE SIZE:
For width of skirt, just add 1-2" to take it up to 30" wide for the skirt and stripe.
The cuffs may have to be adjusted. Take a sleeve and stretch it, [these Gerber 6-9 mo. were 3.5" once stretched]. Double the length [7"] and add one inch or less for seam allowance.
[ 3.5 x2 = 7 +1 = 8 total inches for cuff length. ]
You can keep them 2" wide.
IF YOU DON'T HAVE TIME TO MAKE ONE YOURSELF, I HAVE ONE IN MY ETSY
HERE.
If you have questions, I'm more than happy to answer questions, or if you have suggestions to make it easier, please let me know!
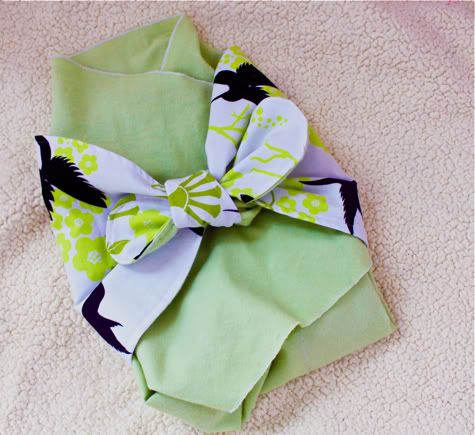
runningscissor@gmail.comI made a few more dresses to give you some ideas for variations of this tutorial:
rather than contrasting strips, just sewed ribbon on the hem of butterfly
butterfly & owl rather than paisley bird