Friday, July 2, 2010

http://sonotdonnareed.blogspot.com/2010/06/family-trees.html

I have to admit ~ I wasn't thinking about Father's Day {at all} when I first started this project. I was thinking about the big empty space on the wall in the half bath, and trying to figure out how to fill it. So I bought a big canvas...brought it home...and stared at it. I even bought paint ~ but had no idea what I was going to {do} with it. Stripes? Some other type of pattern? Hmmmm.... A tree? Trees. I'll do some trees. So I started painting the first tree....

Photobucket

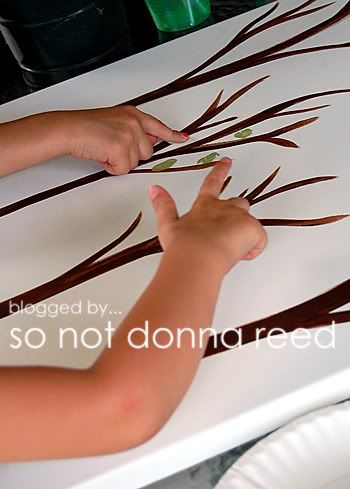
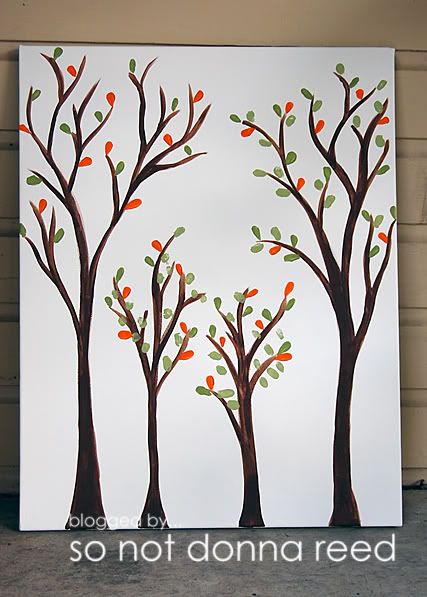
And then it hit me...four trees, one for each member of our family! Cute! So I painted four tree trunks, limbs, etc....in varying sizes to represent the hubband, each of the tiny people, and myself. And {then} ~ a moment of brilliance (which doesn't happen often, so I have to celebrate it. ;) ). I'll have the kids use their {fingers} to make some of the leaves & we could give it to the hubband for Father's Day! {squeal!}

Photobucket

I used my finger to make some of my own leaves, too, then filled in the trees with more, brush-painted leaves.

Photobucket

It's not quite done yet. The hubband still needs to do some of the leaves on his tree, and then we'll hang it in the half bath to fill up that big empty wall.

Not too bad for a totally unplanned, {last-minute} Father's Day gift, right?
http://www.modabakeshop.com/2010/07/casserole-carrier.html

Casserole Carrier


Know anyone having a baby? Got a potluck dinner to go to? Just like carrying casserole dishes around on a regular basis? If so, this project is for you!

1 Prayer Flag charm pack
1 1/4 yd White Bleached Bella Solid
2 packages of crib sized batting
2 packages of 1/2" double fold bias tape OR 1/2 yd fabric for binding
2 round 6" purse handles
14 #20 snap caps
7 #20 snap studs
7 #20 snap sockets
Snap setter / snap press


1. Cut 10 charm squares in half to create (20) 2 1/2" x 5" rectangles. We'll call these "R."
2. Select 10 more charm squares. We'll call these "S."
3. Create 4 strips by sewing the following pattern: S, R, S, R, S, R, S, R, S, R.


4. Cut (6) 2 1/2" x 33" strips of White Bleached Bella Solid. Sew white strips to pieced charm square strips like photo below to create two main panels.

5. Cut (4) 8" x 24" rectangles of White Bleached Bella Solid. Sew two 8" x 24" rectangles to each main panel, making sure to center them. (Refer to photo for placement).

6. Sew two charm squares to each main panel, making sure to center them. (Refer to photo for placement).
7. Cut 2 layers of batting the same size as your panels.

8. Layer, baste, quilt, and bind entire perimeter.


9. Slide a purse handle over each short end of the panel toward the right (outer) side. Fold edge down. Pin and stitch in place.


10. Apply two snap studs to the right side of one panel flap as shown.


11. Apply two snap studs to the wrong side of the other panel flap.

12. Fold over your panel flap like the photo below to determine where to apply two snap sockets. Repeat with the other panel.


13. When the studs and sockets are applied, the panels will snap together to hold your casserole dish snugly in place.

14. Apply three snaps on the top edge under each purse handle (sockets on one side, studs on the other) to improve the structural integrity of the casserole carrier.


... a fun way to carry a casserole dish to a pot luck dinner!


Be sure to stop by my blog for lots of other fun ideas!