Headband that is. (I’m still working on the Bagsket tutorial…that thing is a beast. So here’s a quick something to tide you over.)
I’m seeing more and more headbands pop up so I decided to take a swing at it myself. I went through at least 20 prototypes before I finally nailed it. These fit perfectly! There’s a WIDE and a NARROW version. The WIDE version has an extreme taper so that you get the full pattern blast at the crown of your head, but it still fits comfortably behind your ears. The NARROW version is simple and easy to make and tapers nicely too.
Want to make your own? Read the full post for the tutorial.
Headband Tutorial
Materials:
- Templates: Headband Tutorial Template Cut out the one (wide or narrow) you want
- 4 inch piece of braided elastic (it’s better than the woven elastic)
- 2 x [4" x 20"] strips of fabric that you love. Use different fabrics so you have a reversible headband
- 1 x [4" x 20"] strip of moderately stiff single-sided fusible interfacing (I tried Timtex – it was too heavy)
- Pins, Iron, Sewing Machine, Coordinating Thread, Blah blah blah
Notes:
- These headbands fit most women’s heads. If you have a smaller head, use 1 inch less elastic.
- Templates include the necessary seam allowances
- I used 100% cotton on my bands, but you could use any ironable fabric you like. I would LOVE to see what you make.
- Stitching the elastic in can be a bit of a bear if your feed dogs don’t catch. Just use the tip of your seam ripper or something pointy and firm to help “guide” the ends under the needle.
- The interfacing is optional. It adds a nice stiffness and shape to the headband, but I made a few without any interfacing and they worked perfectly too.
- I am not a seamstress by any means. My “templates” are pretty amateurish but they work for me and I’ve used them at least 10 times now so I think they’re solid. But consider yourself warned.
Step 1: Gather your materials kids!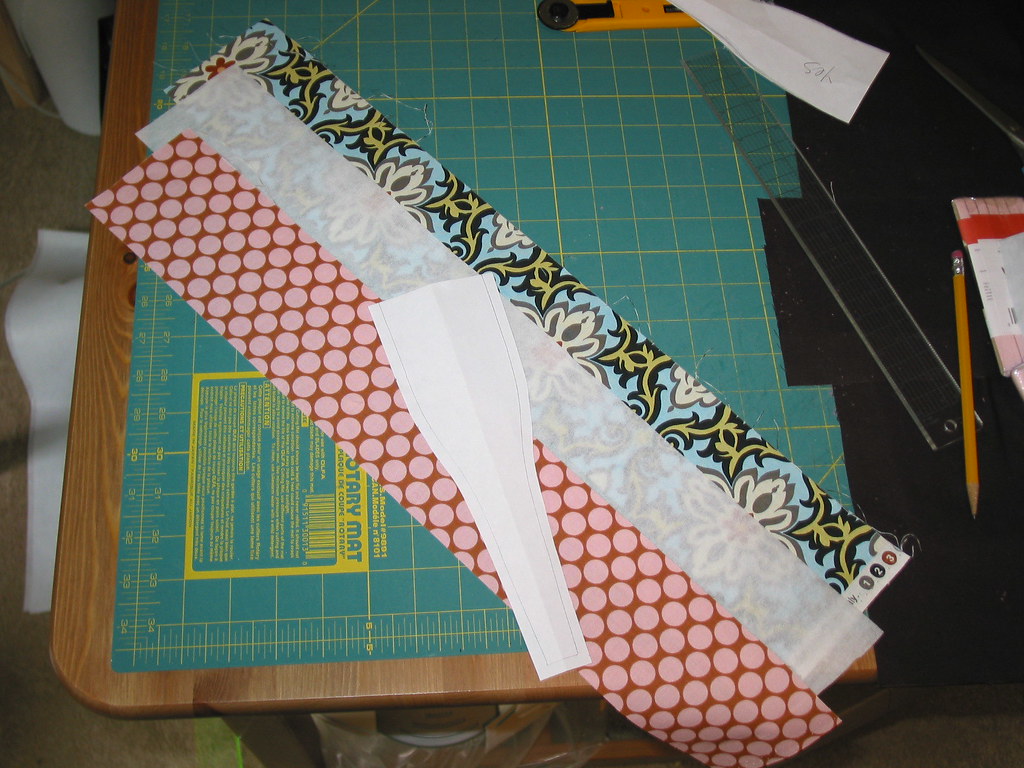
Step 2: Following the manufacturer’s instructions, fuse one strip of fabric (wrong side facing) to the interfacing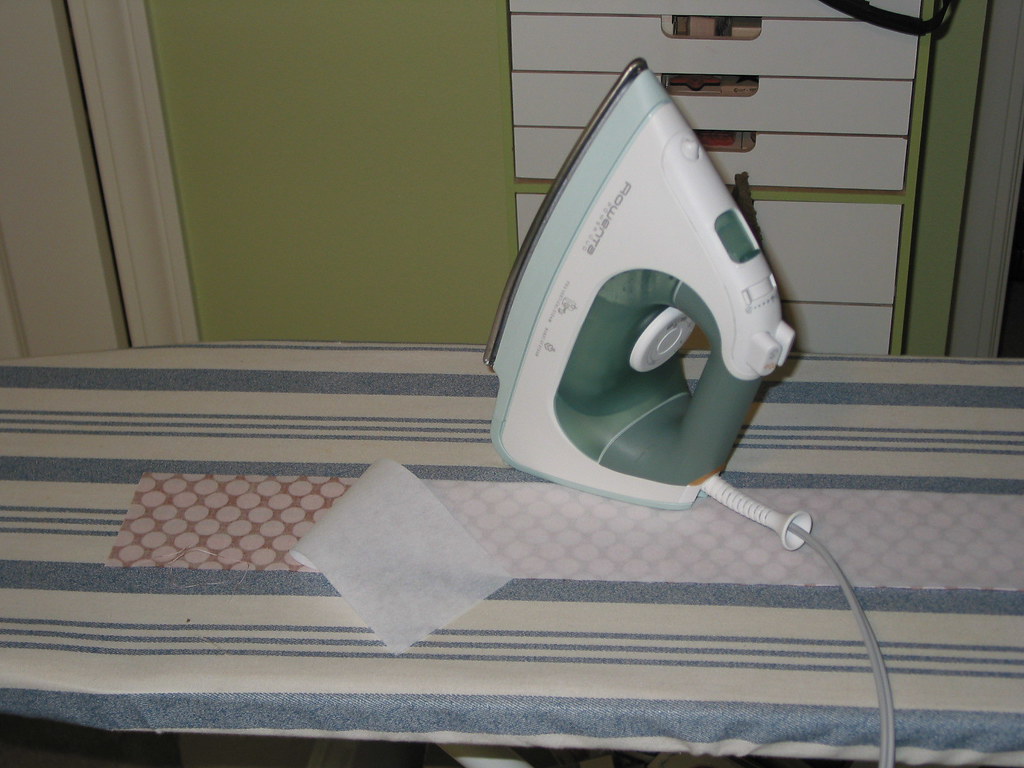
Step 3: Fold your strips lengthwise and align the “fold” end of the template on the fold of the strip. Trace and cut or pin and cut both strips. The templates include the necessary seam allowance.
Step 4: Fold down each end of both fabric strips (along the “crease” line on the template) and iron.
Step 5: With right sides facing, pin the strips together and sew along each LONG side using a 1/4″ seam allowance. Do not sew the short ends together. Make sure to reinforce at the beginning and end of each side and take care when you turn the curve when using the wide template. I find keeping the interfaced fabric on top makes the sewing go easier. 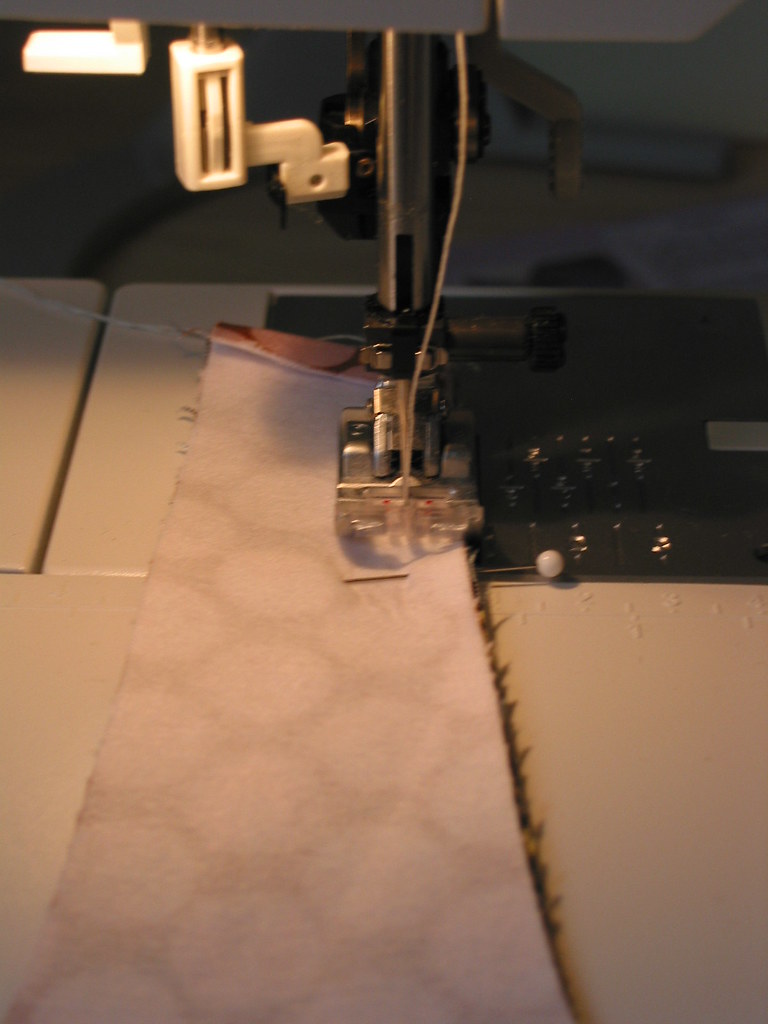
Step 6: To reduce bulk, pink along each side taking care not to cut into your seam. Pink up to but not along the short ends. Alternatively, you can can trim the seam allowance to 1/8 inch (don’t cut into the seam itself).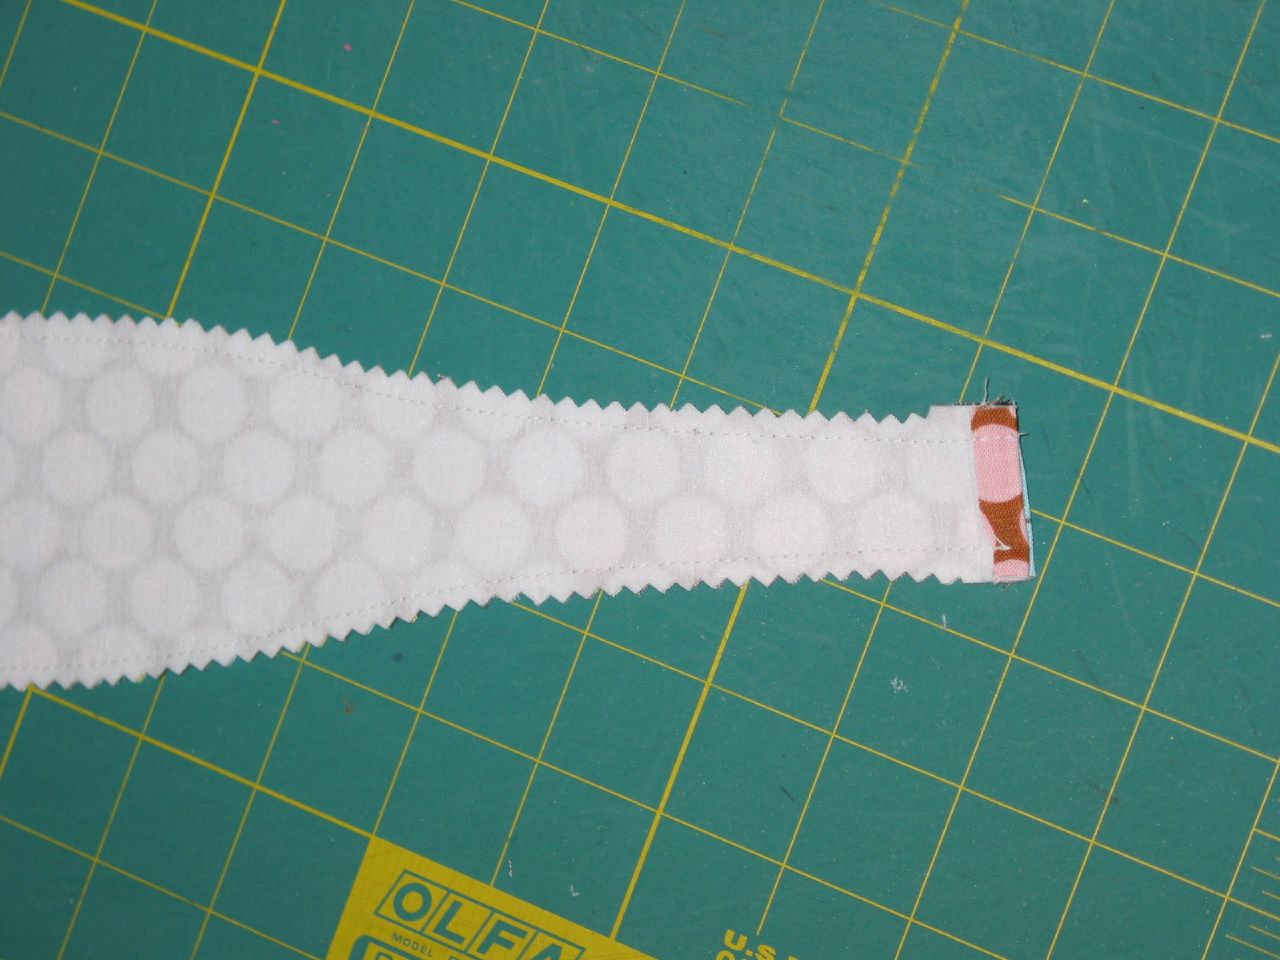
Step 7: Turn your tube inside out and iron flat. The turning is the hardest part of the whole thing. Use a large safety pin to catch the end of the interfaced fabric (don’t go through both layers). Use that pin to help turn the tube rightside out. Take your time…it’s worth it.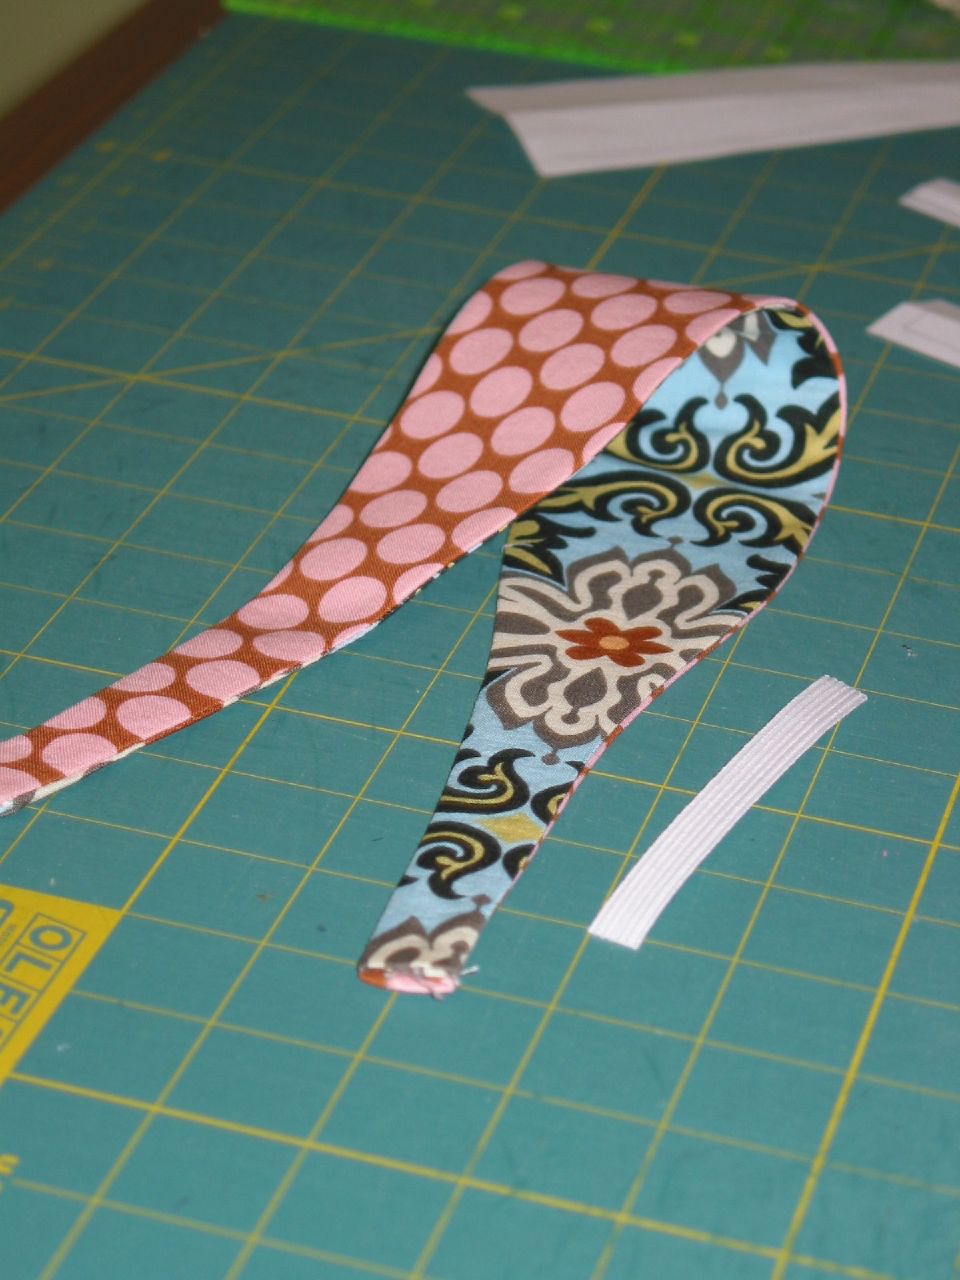
Step 8: Stitch along the side of the headband using a 1/8″ seam allowance (or whatever you think looks pretty). When you reach one short end, tuck one end of the elastic about 1/2″ up into one end of the tube. As close to the end of the tube as possible, sew along the end to secure the elastic. Backstitch and then forward stitch to reinforce this join. Continue down the other side of the headband.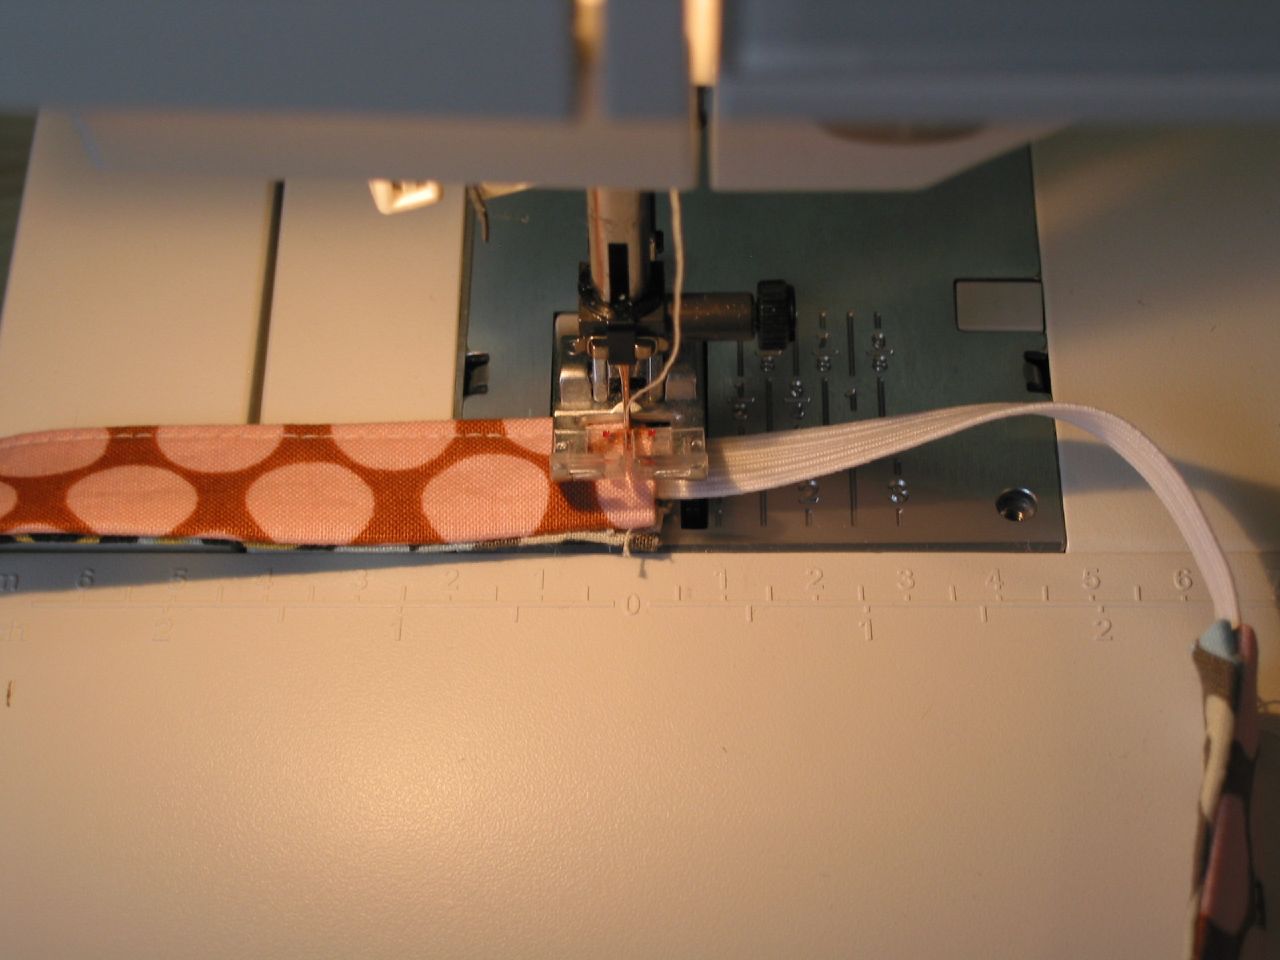
Step 9: When you reach the other end, tuck the other end of the elastic into the end of the headband and sew as you did on the other end. Make sure you didn’t “twist” your headband and that the elastic and headband form a nice smooth continuous circle. Reinforce the elastic join at this end too.
Ta-da! A completely reversible, comfortable and secure headband.

Let me know if anything is unclear or if you run into any issues. Cheers! -Suzanne

No comments:
Post a Comment